If you are like many elementary music teachers, teaching groups of percussion instruments may pop up as one of the standards that you need to teach. I love teaching the groups of percussion instruments because it is a chance to go wild with classroom percussion and really give students a chance to play a wide variety of fun instruments as they learn how to categorize them into the correct percussion instrument groups.
What are some examples of percussion instruments?
Before you can categorize instruments, you need to know what they are. That is why in kindergarten (and to some extent in first grade) I explicitly teach the names of common classroom percussion instruments in a Classroom Instrument Unit. In addition to learning the names of the different classroom percussion, we also learn how to correctly play them, which is obviously a very important skill. This provides such a strong foundation to build on when I do my percussion groups unit in second grade.
What are the different types of percussion instruments?
If you are not familiar with the four different types of percussion groups, they are as follows: metals, woods, shakers and membranes (also referred to as skins by some). Here is a brief description of each group. Metals are instruments that are made of metal. Woods are instruments that are made of wood. Shakers are instruments that are played by being shaken. Membranes are instruments that make sound by vibrating a membrane (namely, drums). The drum head is the thin layer (aka membrane).
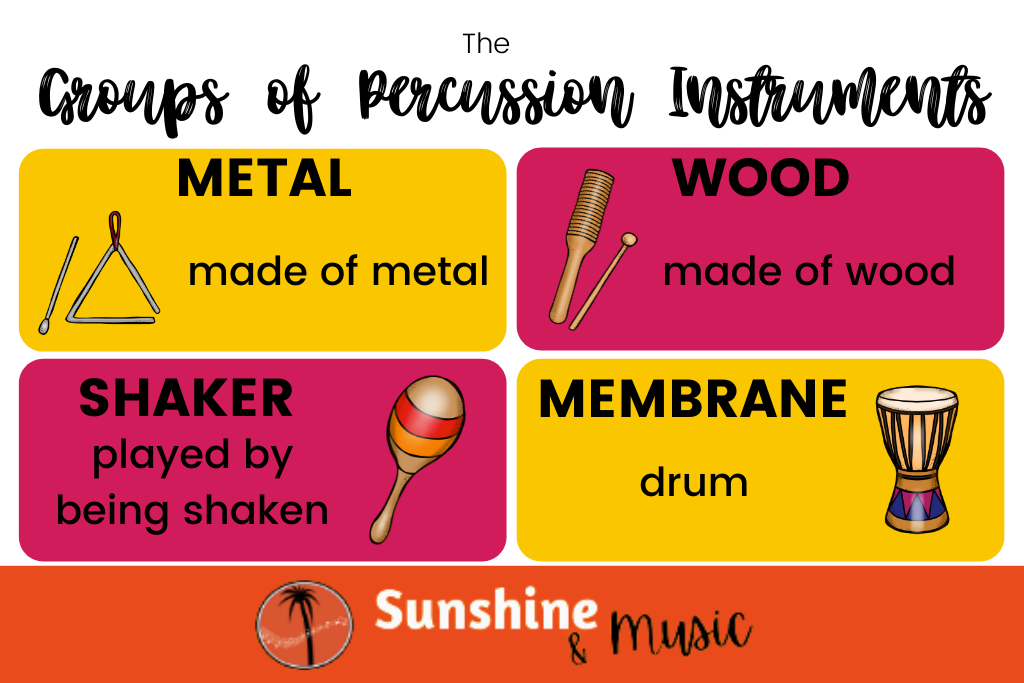
One point of clarification that you may need to make with students is that just because SOME of the instrument is made of wood doesn’t mean it’s in the wood group of percussion. It has to be the part of the instrument that you play. One good example of this is the metallophone. Although much of the instrument is made of wood, the bars (the part that is played) are made of metal, and thus a metallophone is in the metal percussion group.
Another point of clarification is that if an instrument is played by being shaken, it is a shaker, no matter what it is made out of. For example, a maraca is made of wood (typically), but it is a shaker because you shake it.
Activities to Teach About Groups of Percussion Instruments
Turn the Beat Around
I started doing this activity this year and it was a big success. I love Turn the Beat Around. It even says right in the lyrics “got to have percussion.” It works perfectly! I use the version done by Vicky Sue Robinson.
I start by doing a PowerPoint slideshow teaching my students the different percussion groups and how to identify them. Then we use this as a fun wrap up at the end of class. During the refrain, we tap the beat, or do crazy dance moves to the beat. During the verses, I pop up pictures of different percussion instruments. They students have to correctly name the group for the instrument before the end of the verse. You may even be able to fit two instrument slides in for some of the verses.
Then, the next time that we do the activity on a different day, we add in the actual percussion instruments. I have students divided into 4 colors based on the SitSpot they are sitting on. This fits pretty perfectly with the 4 groups of percussion instruments. Each color is assigned to one of the four types of percussion. Instead of clapping or dancing the beat, they get to play the beat on the instruments. During the verses, they still identify instruments and sort them into the correct group. As an added level of participation, you can have students that are in that percussion group stand (and then sit down for the refrain).
Play Percussion
This is a fun activity presented at a state conference by the wonderful Artie Almeida. Dr. Almeida has created a fun and simple song about percussion to the tune of Alouette. It features each of the instrument groups separately and then during the refrain, all students play percussion at the same time.
This song came from her book Woods, Metals, Shakers, Skins – Hoop Group Activities.
PS: While you are there, go to her Teacher Resource section and you will have access to a huge list of FREE ELEMENTARY MUSIC RESOURCES! Some make a little more sense if you have gone to one of her clinics, but many of them stand alone as super fun activities. Her whole tagline is “heavy academics delivered joyfully,” and she does not disappoint.
Assessing Groups of Percussion Instruments
When it’s time to assess students on their skills there are tons of ways to assess. I have a whole blog post on ways to easily assess in music class if you want more ideas, but here are two specific ways you could go about assessing students on percussion instrument groups.
Percussion Instrument Cards – Sort with a Partner
I love student response cards and partner work. The more you can turn things around and have the STUDENTS do the work and you facilitate, the better. I hand out sets of classroom percussion cards to small groups of students. Students work with their group to sort through the percussion instruments and put them into the correct percussion group.
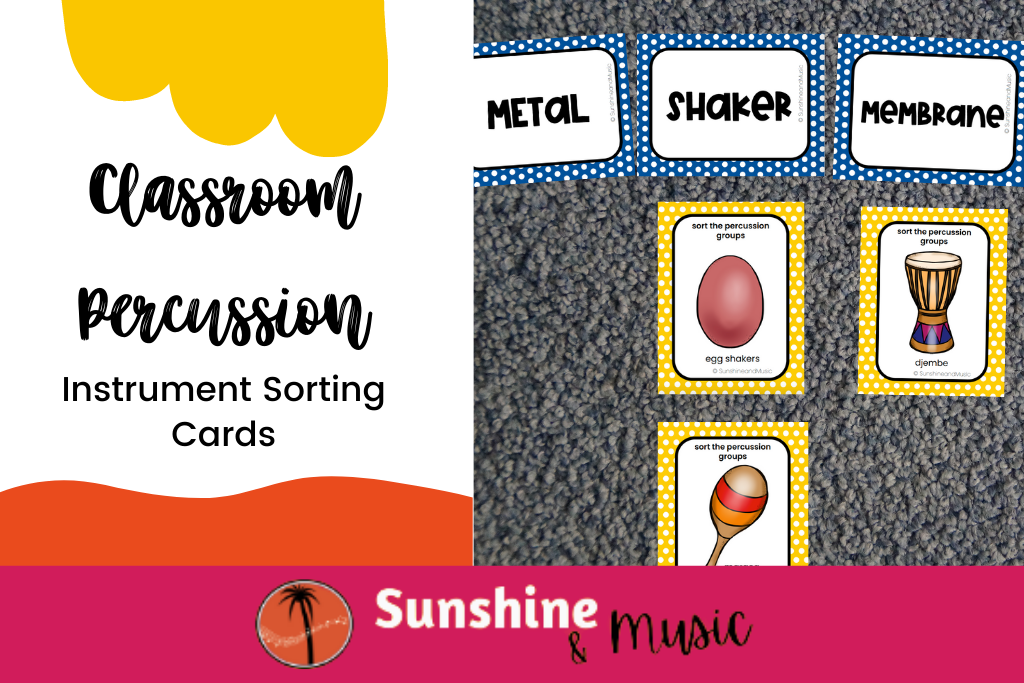
These cards are available as a bonus on my Music Worksheet Bundle if you would like to use them in your music classroom.
If you are ok with it, you can assess them based on partner/small group work. If you really want to know how they are doing individually, you can give each student their own set of cards, or you can move on to my next idea.
Sorting Percussion Instruments by Group Worksheet
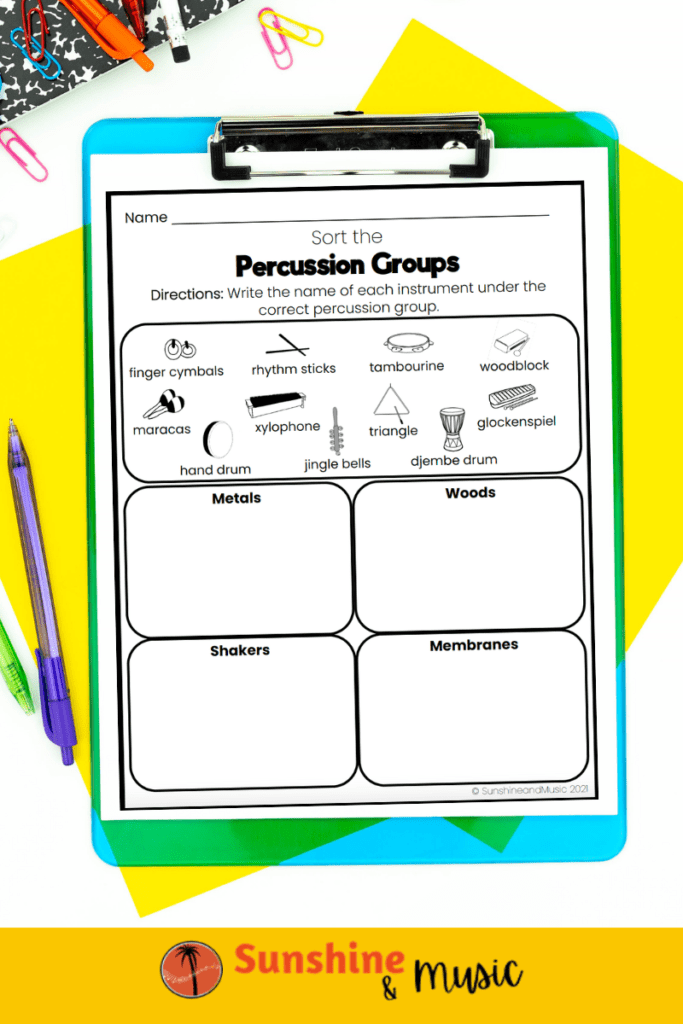
Sometimes a quick worksheet is a good way to assess students when you really want to know their individual performance. This worksheet is part of my Instrument Worksheet Set. I like to use it as a quick wrap up and assessment at the end of our Percussion Groups Unit.
Want More Percussion Ideas?
Here are some blog posts to give you even more fun ideas to try in your room.
Journey to Africa – rhythm play-along on tubanos



One Response