Have you been wondering how to make a listening map for your music class? Listening maps are a great way to keep students engaged and focused on what is happening in a piece of music.
Sometimes you can find great already made listening maps for the song you are learning about, but sometimes what’s out there is just not that great – and then it is good to be able to create your own. So I am here to show you how to create a listening map all by yourself!
And don’t forget to check out my Ultimate Guide to Listening Maps for next steps once you have your map made.
What Is a Listening Map?
Let’s take a step back for a second. If you have never heard of listening maps before, let me introduce you. These visual aids are such a helpful device to help student process the huge amount of auditory information they are getting when listening to a song.
Listening maps can highlight dynamics, form, instruments timbres and so much more in a clean and concise visual representation.
So, now that you know what they are are, let’s talk about what it takes to create one.
How To Make a Listening Map in Four Simple Steps
Step 1: Create an Outline of the Song
Have a recording of the piece you are going to create the listening map for. Then get comfy. You are going to listen to it many, many times. During the first listen, try and write down the general form of the piece. What sections repeat? Is one section WAY longer than the others?
On the second listen, try and flesh the form out a little more. Does the song have an introduction? Are there transitions between the sections? How about a coda? I usually use just a piece of loose leaf paper to jot down this basic form of the piece. Now that you have that basic idea of how the song is organized, it’s time to map it out.
Step 2: Setting Up Your Sections
I create my listening maps in PowerPoint. It will allow you the most flexibility in creating what you need. I create sections in my listening map based off how many sections there are in the song. Here is my “form analysis” of Jupiter from The Planets.
Intro
Section 1 and transition
Section 2
transitional section (it was really long so it got it’s own section)
Section 3
transitional section (similar to intro)
Section 1 and transition
Section 2
Ending
Since I had 9 main sections, I made 10 boxes on my map. The first box is where I will place the title for the listening map, and everything else is for the actual sections of the song. Now that we’ve got everything sectioned out, it time to get to the nitty-gritty.
Step 3: Adding the Details
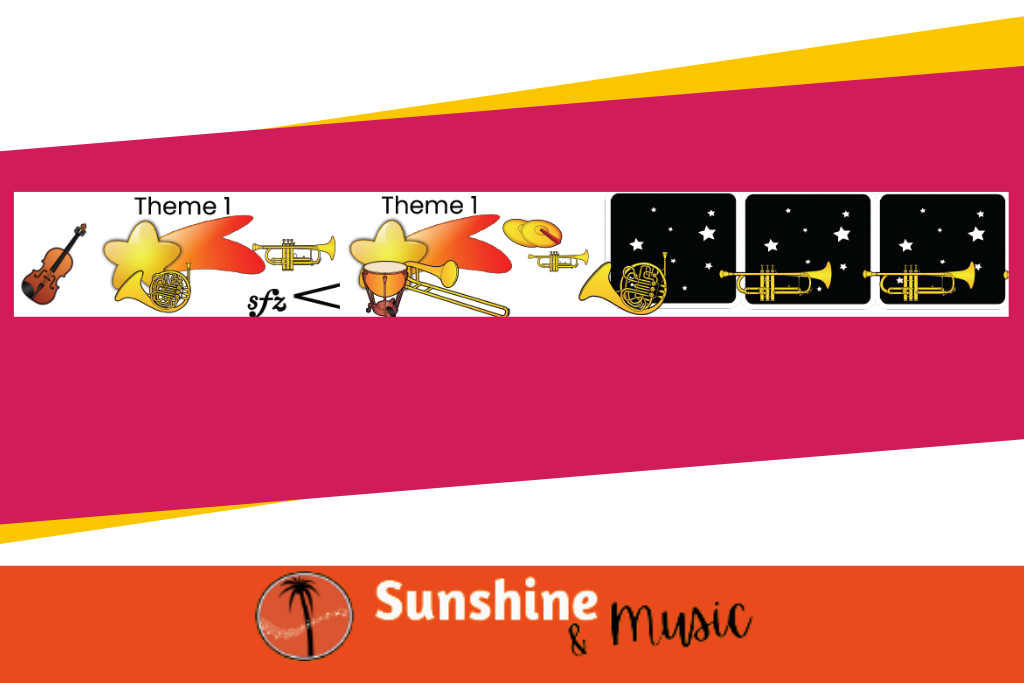
Play through the first section and notice the main parts of the music that jump out at you. Example: the beginning starts with a bunch of strings – so I placed a picture of a violin at the beginning. Then the first theme of the song is played, so I chose an icon (a shooting star – since the song is about Jupiter) to represent the theme. I’ll use it whenever that theme appears in the piece. Then there is a theme play by the horn, then the trumpet plays the same general theme a couple times. Here is a pic of what my first section looks like.
Go through each section and put down icons to show what you hear. Make sure to mark only what stands out to the listener. These are supposed to be “guideposts” to help anchor where you are in the song. Less is definitely more. You will probably have to listen to each section several times to figure out what musical events to mark and what to leave out.
The icons can be instruments, or other pictures that go with your theme (since I am doing the song Jupiter, there are a lot of space-themed icons). Parts of the song that are sort of ethereal and don’t have any good “main events” can be marked by swirly lines, dots (stars in my space-themed map), etc. And of course you should throw in some musical icons or vocabulary when you notice them in the music.
Step 4: Final Steps
Once you have finished your rough draft, listen all the way through. See if anything is missing. Edit out any icons that are unnecessary or clutter up the map. Again, less is more. Only draw out the main events. For the ultimate test, pass it on to another music teacher and see if they can follow along without your help. That is the ultimate indicator of a successful listening map.
How to Use Your Listening Map
Now that you’ve created your listening map. You might wondering what ways you can incorporate it into your lesson. Make sure to check out Listening Maps for Music: The Ultimate Guide for lots of ideas on how to best use your new resource.
Jupiter Listening Map
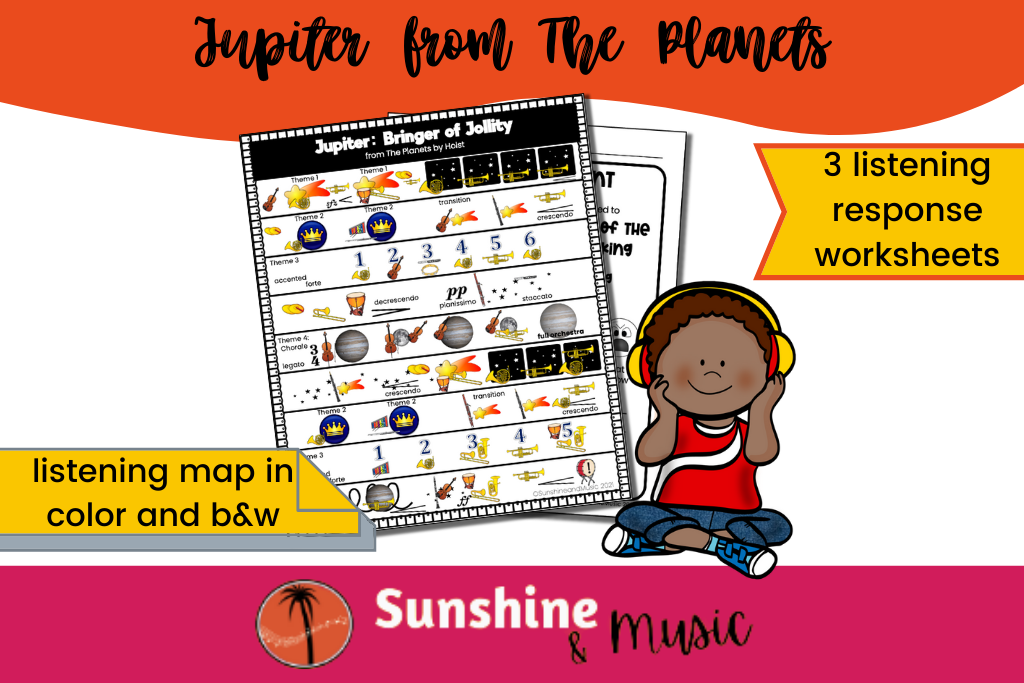
Here is my completed listening map for Jupiter from The Planets by Holst. You can use it as a template for how to complete your own map. And of course, you can use it with your kids to listen to Jupiter. Enjoy!
OR if creating all these maps seems like too much work for you right now (I totally know THAT feeling this year!), I also have a short cut … join my mailing list and get a free listening map and updates on all the new resources and content that I create throughout the year.
Listening Map Resources
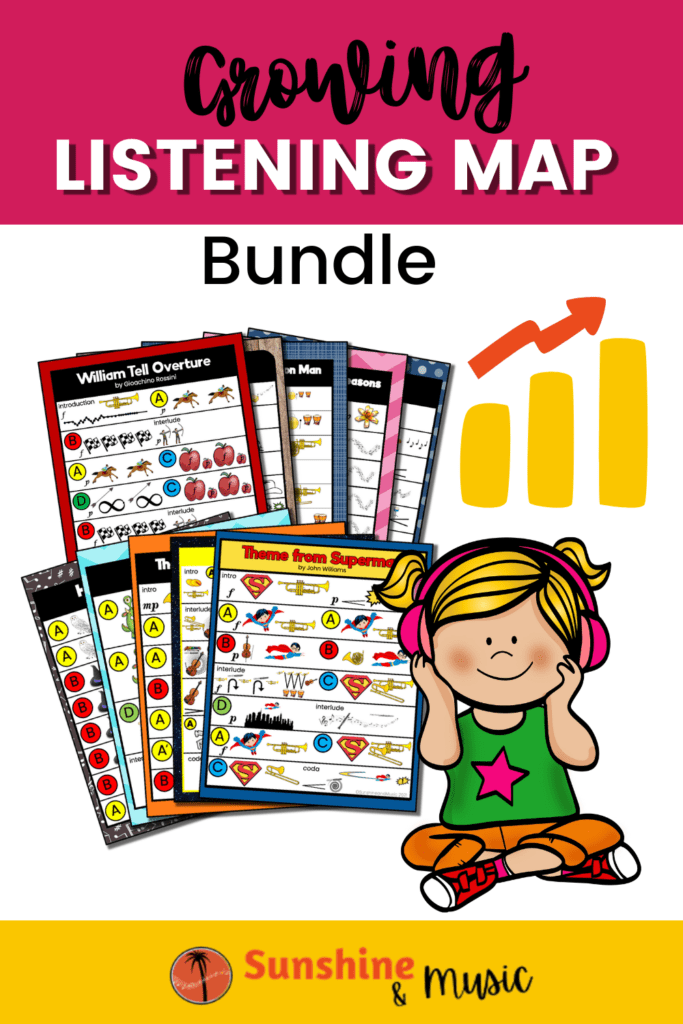
Want to save yourself some time? I have some great bundles from my TeachersPayTeachers store.
Carnival of the Animals Listening Map Bundle
Classroom Classics Listening Map Bundle
Growing Listening Map Bundle!‘ <– best value!




11 Responses